Being able to create HTML forms will provide you with numerous opportunities to create different types of forms for different reasons. But actually creating forms in HTML is not easy, and if you don’t have much experience with web code there will be a steep learning curve.
The good news is that you can skip that learning curve and start creating an HTML form immediately by using AidaForm Online Form Builder. It is an HTML form creator that is intuitive, user-friendly, and most importantly does not require you to write any code.
How You can Create HTML Forms Using AidaForm?
To start creating an HTML form using AidaForm, you should first head over to the website and sign up for a free account. Once you’ve done that you can log in and will be taken to the members’ area – where you can begin:
Start creating the form

Click on the ‘Create a Form’ button in the members’ area and select a template for your form, then enter the name that you want to use for it. The name is purely internal and won’t appear on your form, and if you want you can choose a blank template to start from scratch.
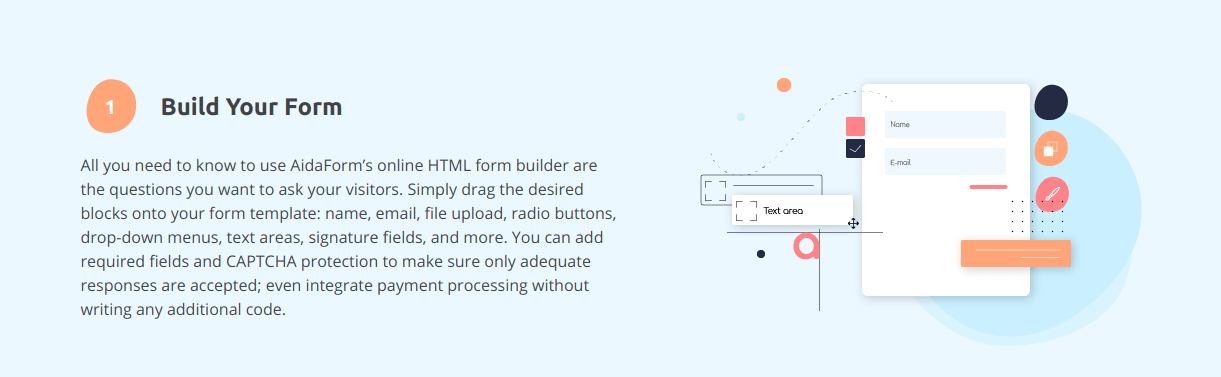
Add fields and structure the form
Open the Form Elements section and browse, select, then drag the fields that you want to add into your form. Each field will appear as a block, and you can arrange it to structure your form the way that you want.
The fields in AidaForm are varied and include lists, radio buttons, dates rating scales, file uploads, CAPTCHA, Google Maps, various types of text fields, and many other options. The label, hint, and error message for each will be set up automatically, or you can customize it in the field settings.
Customize the appearance
Open the Form Designer section and select a theme to customize the appearance of the form. If you want you can then further customize the theme and select your own colors and fonts, or add images too.
Publish the form
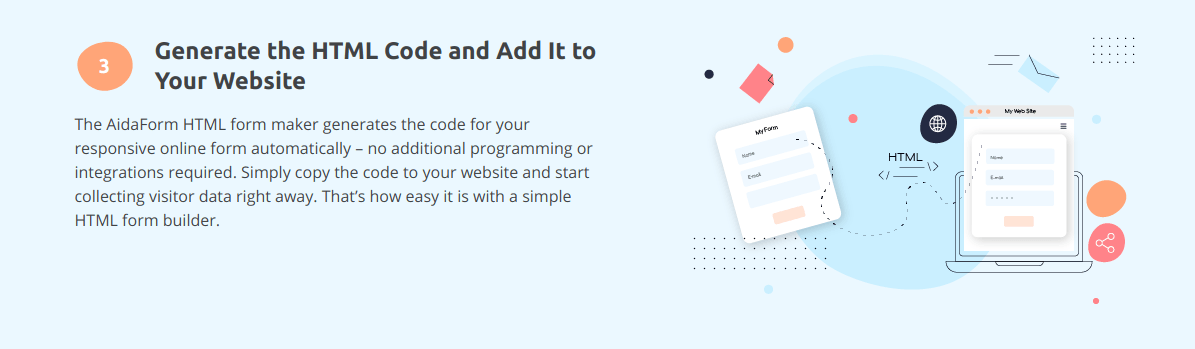
To publish the HTML form that you’ve created, click on the ‘Publish’ button. When you do, Aida from will provide you with embed code that you can copy and paste on your website to insert the form. If you prefer you could use a direct link to the form as well.
Make no mistake there are other features in AidaForm that you can try, including integration with platforms such as MailChimp, Zapier, and Google Sheets. Each of the features is just as intuitive as the ones described above, however, and it should only take you a minute or two to figure out how to apply them.
Suggested:
Best websites to learn Web development.
HTML vs WordPress website- Which one is better for your business?
Seeing as Aida makes it so easy to create HTML forms, it is definitely worth giving it a try. Once you do you will be able to create any type of forms that you require for lead generation, order and payment processing, market research, customer feedback, or any other reason.
There may be many online form builders on the Internet but today we are going to talk about the Guide to Create HTML Forms Using AidaForm.


 5 Risky Black Hat SEO Techniques Used Today
Good work thanks for sharing