You have made the decision to take your handicraft talent to the next level and start making money on it. Your Instagram page already has a name and description. It remains to photograph the product so as to attract the attention of potential buyers.
Just a “pretty photo” is not enough. In addition to the fact that the photo should highlight all the details of the product on display, the photo should be of high quality and compositionally competent.
You don’t have to be a professional photographer and have expensive equipment for this. It is enough to have a phone with a good camera and know some of the nuances of shooting.
Take care of the lighting
Natural light is the key to the success of any photography. To achieve a beautiful photo, it is important to consider:
- Direct sunlight gives too contrasting changes in bright light and deep shadows;
- Not only the total amount of light is important, but also its uniform distribution;
- When shooting bulky or glossy products, one light source is not enough;
- To lighten the opposite side of the piece, use a reflector.
Composition and background
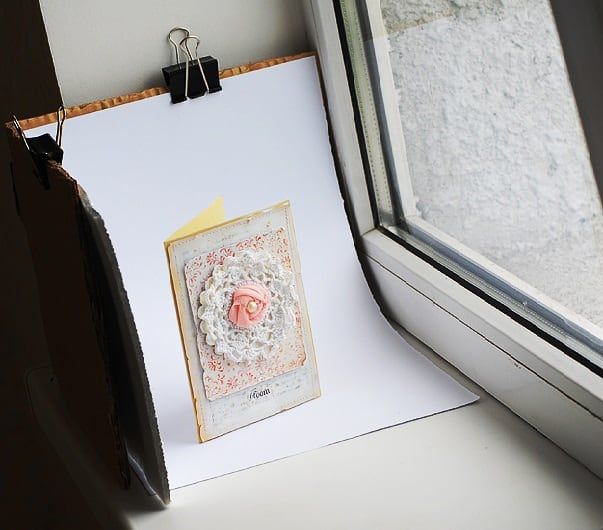
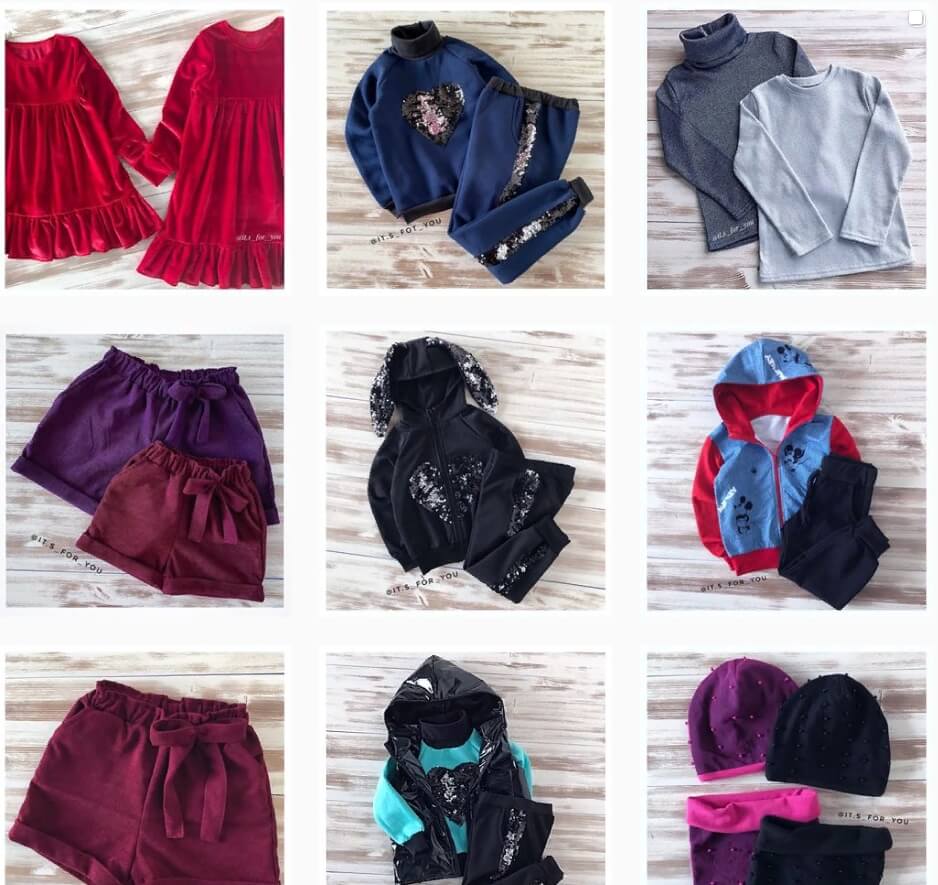
Don’t forget about composition. First of all, you need to choose a background against which the product will stand out and will not merge. As a background, you can use plain fabric, a wooden board, or a simple sheet of paper. Chewed parchment paper can also be a good background.
Avoid a colorful design, as it focuses on yourself and not on the product being sold. Now there are special photographic backgrounds of various textures and colors that can come to the rescue in this matter.
As a rule, on social media, the gaze lingers on photographs with a lot of detail. It’s important that the details create a cohesive concept, not a mess. To do this, arrange props with a similar and matching color scheme, and create a story with their help. Anything can be done here, don’t hold back your imagination. But don’t get carried away too much. The emphasis should be on the product itself.
There is an opinion that a photo becomes more attractive if it shows an odd number of objects, for example, 3. Thus, you kind of frame the main subject with the help of the other two. It is more comfortable to look at such a picture, and the presented product immediately catches the eye of the buyer.
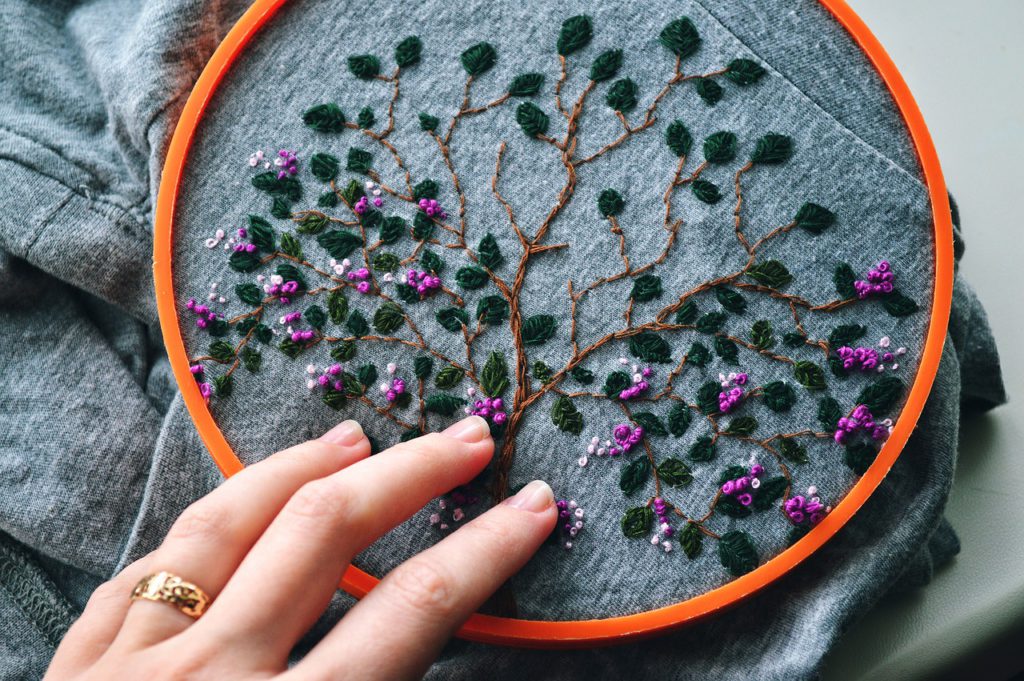
The simplest thing you can do to surround the main subject in a photograph is a hint of the material the subject is made of. A piece of what’s inside. A knitted sweater can lie surrounded by skeins of wool or a toy lamb, silver earrings surrounded by blanks for them, and a wooden smartphone stand surrounded by beautiful cuts of wood.
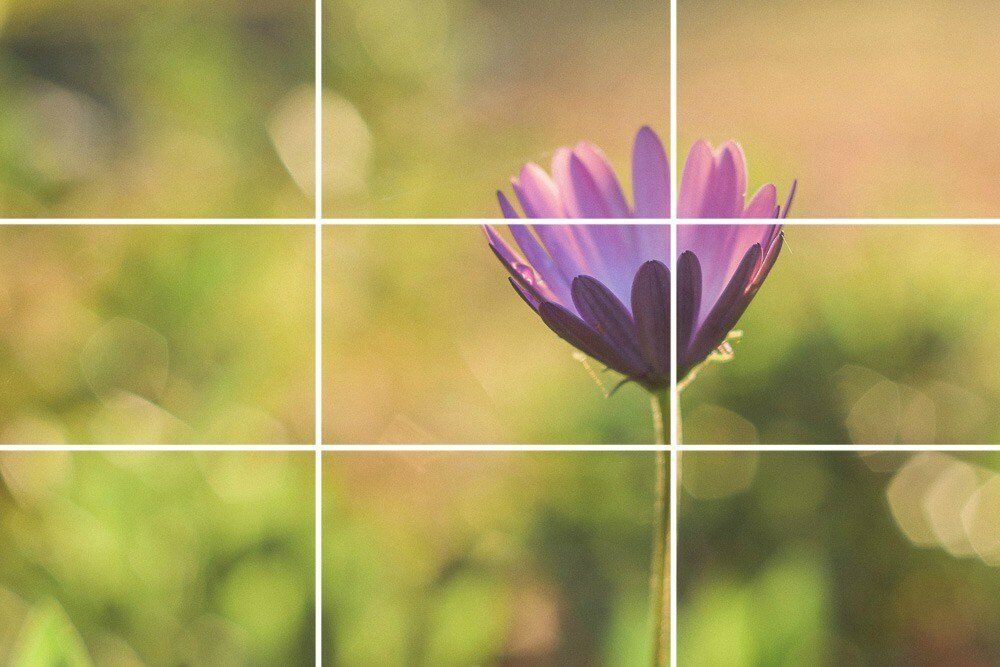
It is worth mentioning one more rule in building a composition – the rule of thirds. It is based on the simplified golden ratio. In this case, the frame is conventionally divided by two horizontal and two vertical lines. To make it easier to navigate, turn on the “grid” function in the settings. The point is that the accents in the photo will be at the points of intersection of the lines – it is at these points that the main subject should be placed.
Also, try to create some rhythm in the picture. It is achieved by repeating the same lines, shapes, slopes. Remember: the perspective should show the product from its best side. Therefore, try to photograph the product and the composition you exhibited from different angles.
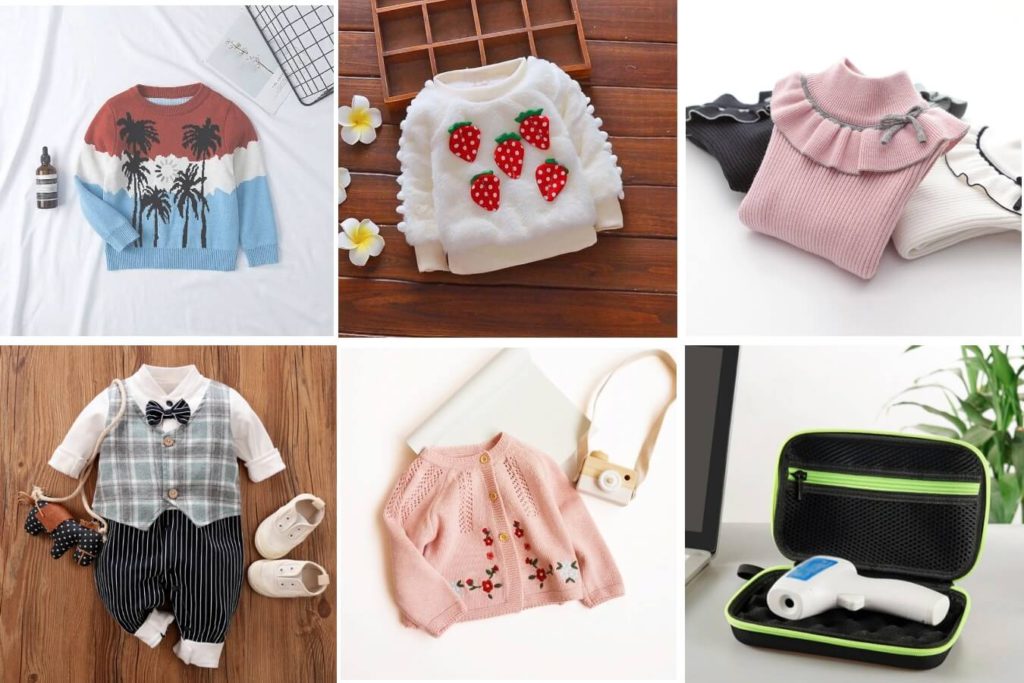
For the main photo, choose the best shot, but take care to add some photos showing the product from different angles. Better yet, shoot a short video.
It is easier for buyers to imagine anything if you show it in the process of use. In addition to the main photo, add a photo of your vase in the interior, jewelry on the body, and a soft toy in the baby’s hands.
But if you are a minimalist, then in the design of the page you can bet on your minimalist style – take all the photos in one angle, against the same background, without unnecessary objects.
Post-processing
After the product has been snapped off, process the photos. Choose the best from the series of shots. After that, you can start editing. You can use your smartphone’s built-in photo editor, but in most cases, even free post-processing software is much more effective, like VSCO or MOLDIV.
But the quality of photography is ruined by the abuse of filters and other image processing tools on smartphones. In particular, they can distort colors and give the buyer a misconception about the product. Important: the color in the photo and the color, in reality, must match. But adjusting brightness, contrast, shadows, and sharpness is possible, and sometimes even necessary.
Another way to get an interesting photo is to blur the background, leaving only the product in focus. Alternatively, you can replace the existing background with whatever you want – there are special online services that are as effective and easy to use as this one.
The “selling” photo must also have your nickname. Customers usually dislike watermarks that cross the photo right in the center and hide the details of the product, so place the markings in the corner, with a slight swim over the subject of the photo.
Summarize
In creating a photo that will sell, the main thing is practice and more practice. Train, develop your sense of taste, and use your imagination. If you edit photos on a computer, then it is convenient to upload them to Instagram using a deferred posting service.
See the work of others. And then the result will not belong in coming.
Suggested:
Elevate Your Business with the Help of a Professional Photographer.
Website Optimization On Photography Blogs for Photographers.
How to make money by Selling photographs Online?


 Top-Rated Virtual Data Room Services of 2024-2025