
Vipin Gupta
Vipin is a technical content writer with 5+ years of industry experinece in the field. He holds a b.tech degree in Computer Science and Engineering (CSE).

Jellyfin media server is open-source and free software. Using Jellyfin, you can explore content on Android, Computers, Fire TV devices, Android TV,...
Reply

Jellyfin media server is open-source and free software. Using Jellyfin, you can explore content on Android, Computers, Fire TV devices, Android TV, and more. However, when talking about installing the Jellyfin media server, it is not limited to Linux solely. It can be operated on macOS, Microsoft Windows, or in a Docker container. So, if you plan to install Jellyfin on Ubuntu, you’ve landed on the right page. Here is the step-by-step guide on installing the Jellyfin media server on Ubuntu. Let’s get started!
Here’s the step-by-step process to install Jellyfin Media Server on Ubuntu:
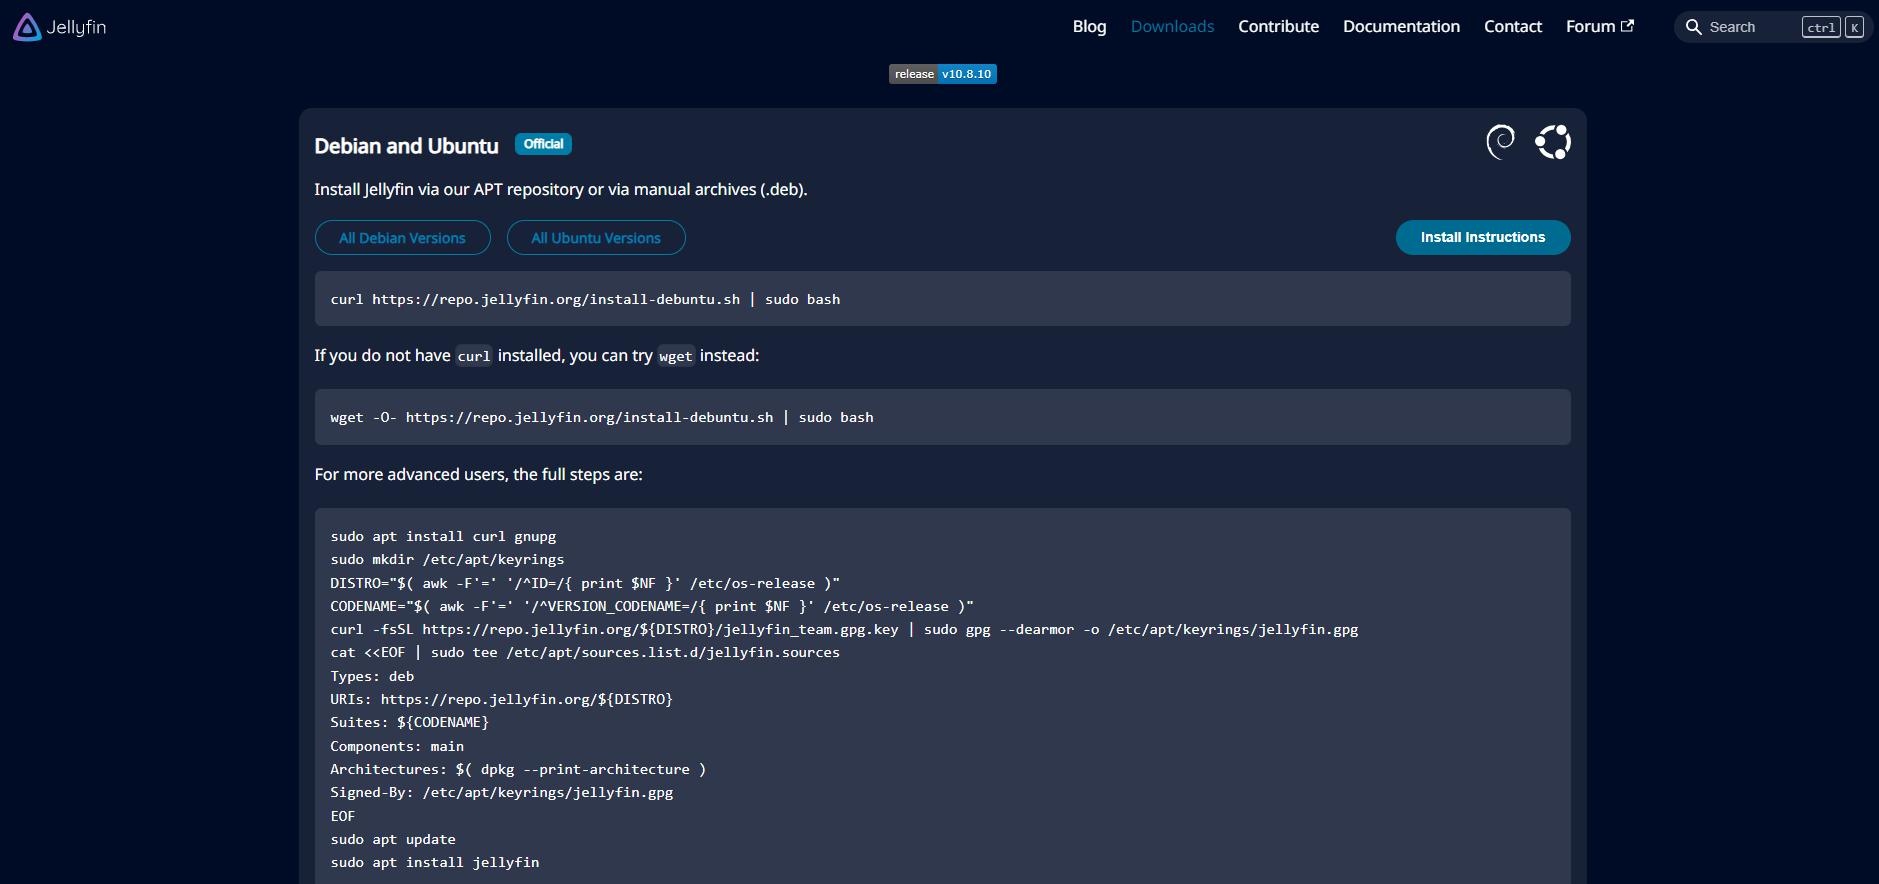
First and foremost, add the Jellyfin GPG key to ensure that the pack you install belongs to an authentic source. Here is the command to enable secure protocol support –
| sudo apt install apt-transport-https |
Add key –
| wget -O – https://repo.jellyfin.org/jellyfin_team.gpg.key | sudo apt-key add – |
It’s time to add the Jellyfin repository. There is an official repository offered by Jellyfin to Ubuntu. Run the following command to add the repository.
| echo “deb [arch=$( dpkg –print-architecture )] https://repo.jellyfin.org/$( awk -F’=’ ‘/^ID=/{ print $NF }’ /etc/os-release ) $( awk -F’=’ ‘/^VERSION_CODENAME=/{ print $NF }’ /etc/os-release ) main” | sudo tee /etc/apt/sources.list.d/jellyfin.list |
Once again update the complete package list to add the Jellyfin repository.
| sudo apt update |
Automatically install Jellyfin on Ubuntu or Debian-based Linux operating systems. Here is the command for the same -ÂÂ
| sudo apt install jellyfin |
Once Jellyfin is successfully installed on Ubuntu, it’s time to kickstart the services and enable them for the future. Use this command to start and enable the Jellyfin service –
| sudo systemctl enable jellyfin |
To check everything is in its place and running properly, use this command –
| sudo systemctl status jellyfin |
Press Ctrl+C to exit!
Now, everything is in place, and Jellyfin is running perfectly on Ubuntu. Now, it’s time to explore the web interface. Jellyfin automatically runs on port 8096. Go to the browser on Ubuntu, add the address, and navigate.
| http://localhost:8096 |
Now, the Jellyfin web interface will show up where you can move forward with the configuration and initial setup of the media server. If you’re using a remote machine to access Jellyfin, add the IP address in place of the local host. You can also mention the hostname of the Ubuntu system.
Tap on the Next option to complete the process. A new screen will appear where the Admin can set up the username and password. Add your chosen username and password, and click on the next option.
As you visit the add media library page, click the + button to choose from different media files like images, music, and videos. Also, add the folder path, country, and other details.
To log in, enter your username and password! You can now explore and access photos, videos, music, and other files.
Installing and setting up the Jellyfin media server on Ubuntu is no big Science. You only need a little focus and a detailed step-by-step guide to complete the process. We hope this guide to installing Jellyfin Media Server on Ubuntu helped you and made the process easier than ever before.
Suggested:
Jellyfin Review 2023: Everything You Need to Know.
Vipin is a technical content writer with 5+ years of industry experinece in the field. He holds a b.tech degree in Computer Science and Engineering (CSE).
 How Does Jellyfin Work?